DIY Kit 3D Light Cube 8x8x8 RGB LED Cube Colorful Audio Spectrum Display
Product Details
1.Introduction:
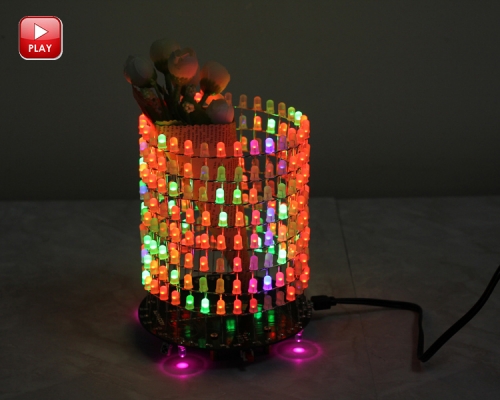
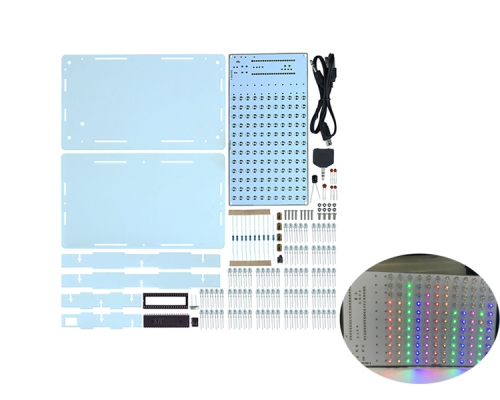
This is a light cube DIY kit that you need to weld and assemble by yourself. The bottom plate comprises a circuit board and component parts. The 512 LED lights make up a stereo space. A variety of cool model showing a three-dimensional effect. It's better to watch in the night.
Installation Manual:
Note: Due to the shortage of DIP chips, the chip of this kit has been replaced now. The installation way and function is still the same. Hope for your kind understanding.
2.Feature:
1>.Strong Bluetooth multimedia control
2>.Support MP3 decoding function
3>.Wireless control
4>.Multiple audio input
5>.MINI USB provide power supply
6>.Multi-play display mode
7>.Perfect simple circuit
8>.Rich external interface
3.Parameter:
1>.Model:3D 8x8x8 Light Cube
2>.Work Voltage:DC 4.2V-5.5V
3>.Work Current:100mA
4>.Power Type:MINI USB
5>.Control Type:Infrared Remote Control + Button Control
6>.Music Type:Bluetooth/U-disk/TF Card/Audio Input
7>.Work Temperature:-40℃~85℃
8>.Work Humidity:0%~95%RH
4.Function:
1>.RGB LED light color changes automatically
2>.Bluetooth Audio control
3>.Infrared remote control
4>.Button Control
5>.Bluetooth audio mode
6>.U-disk audio mode
7>.TF card audio mode
8>.FM Play mode
9>.Audio signal input mode
10>.Built-in 3W amplifier
11>.Adjustable animations flashing speed
12>.One comprehensive animation
13>.Multiple animations(more than 50kinks)
14>.Adjustable spectrum sensitivity
15>.One comprehensive spectrum mode
16>.Multiple spectrum modes(more than 10kinks)
17>.Switch memory function
18>.Music switch control
19>.Support audio output
20>.Adjust volume
21>.Automatic control mode
5.Frequently Asked Questions:
1>. Q: Why some of the LED in the same layer or in the same column can not be bright?
A:The pin is not soldered firmly or missing.Please check out the soldered pins and fix them again
2>. Q:Why a column or a layer is not bright?
A:Please refer to the schematic, find the corresponding chip, re-soldering the pin, the chip may be pin soldered or unsoldered.
6.Application:
1>.Training soldering skills
2>.School soldering projects for students
3>.DIY production
4>.Project Design
5>.Electronic competition
6>.DIY Gift ideas
7>.Crafts collection
8>.Home decoration
7.Installation Notes(Please be patient)
This DIY installation is more difficult to be installed, please be patient until the installation is complete.
It is strongly recommended to browse the installation manual before starting installation.
1>.User needs to prepare the welding tool at first.
2>.The soldering iron can't touch the components for a long time(1.0 second), otherwise it will damage the components.
3>.Pay attention to the positive and negative of the components.
4>.Users can complete installation by PCB silk screen and component listing.
5>.User must install the LED according to the specified rules.Otherwise some LED will not light.
6>.Install complex components preferentially.
7>.Make sure all components are in right direction and right place.

.png)


